
User guide
A little guide to creating events and selling tickets on Gather
Getting set up
Log in or create your account
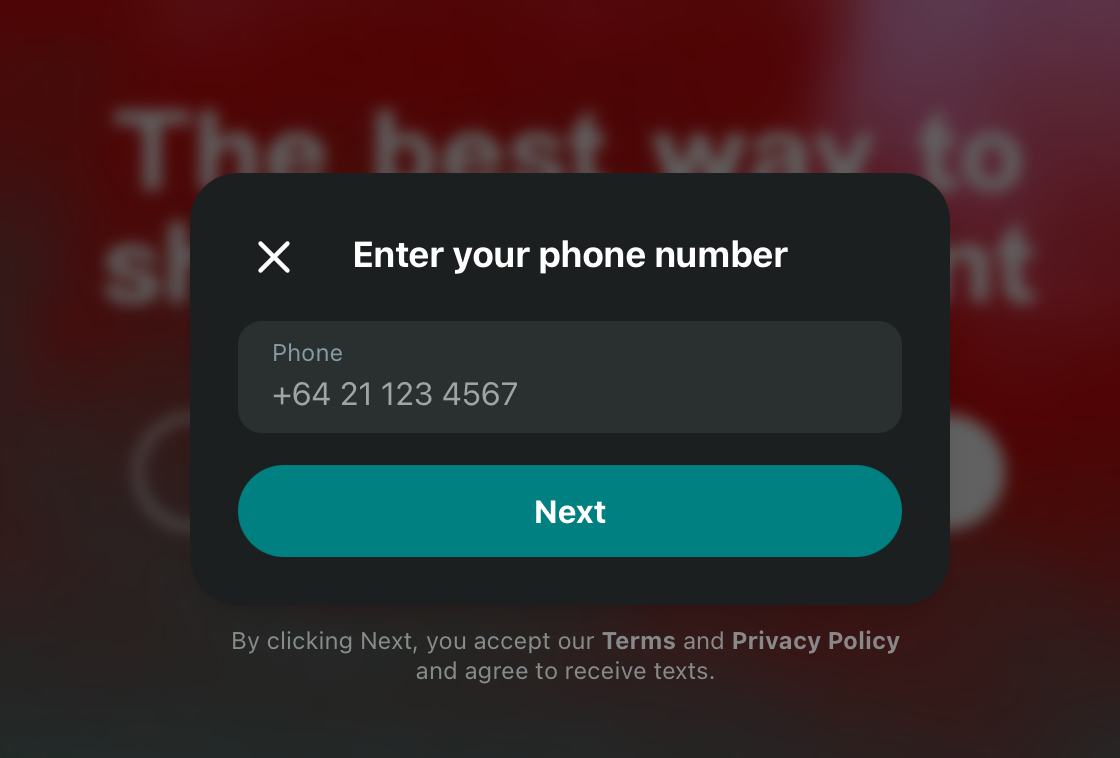
First things first, go to gather.rsvp and hit Log in. Enter your phone number, and then enter the 5-digit code we text to you. If you are new to Gather, you will be prompted to provide your name. You have now created your account! If you have logged in before, you will be taken straight to your account.
Create an event
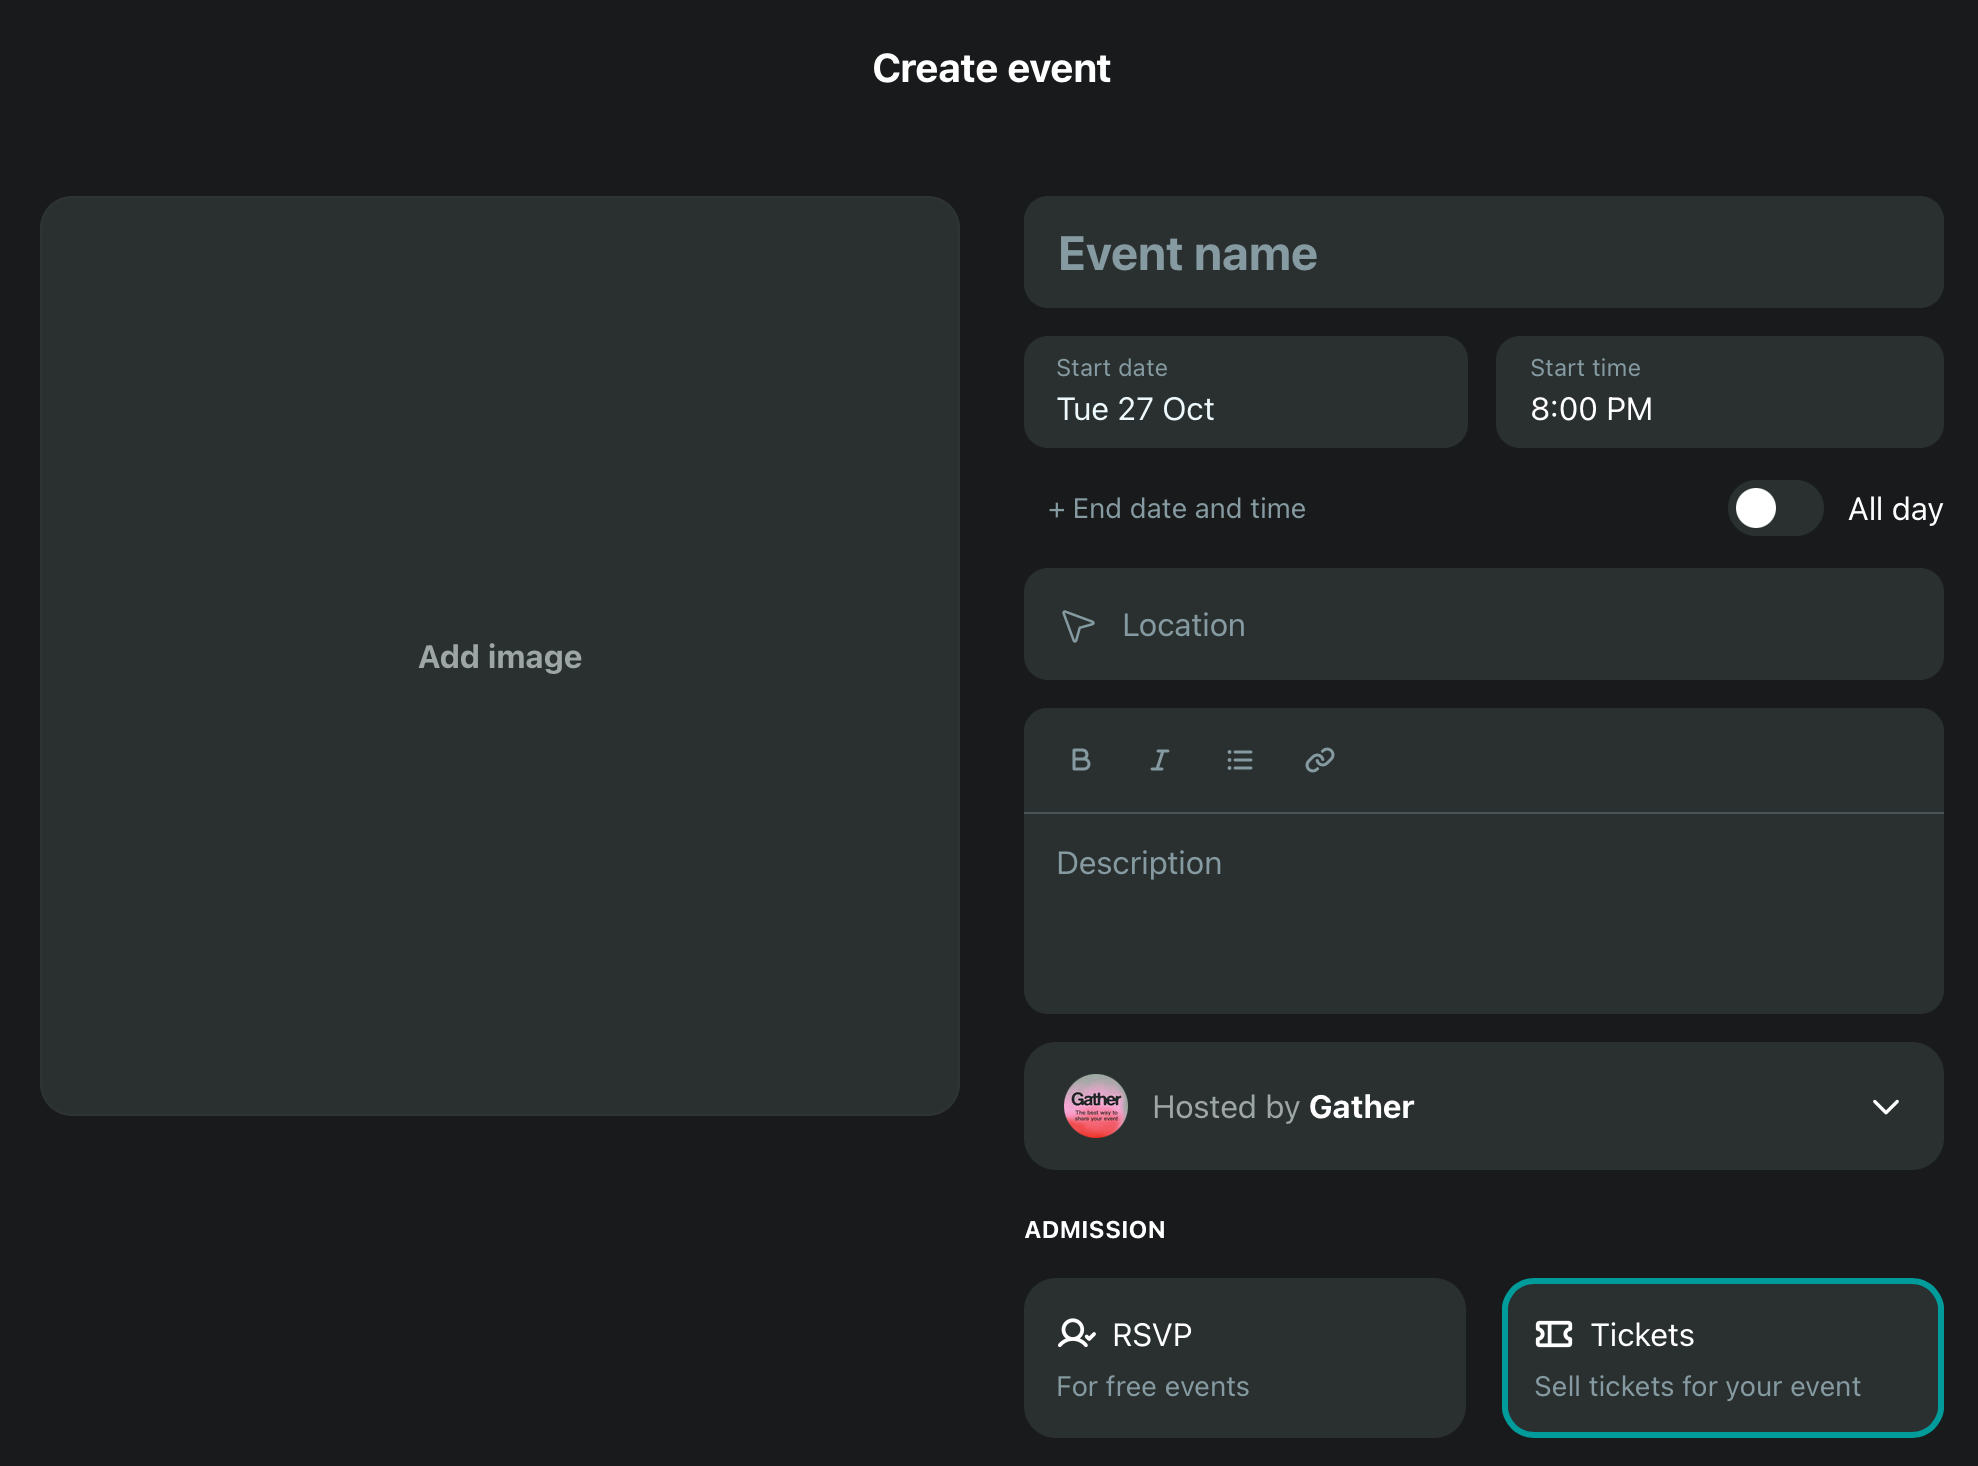
Now you can create your event. You can either do this from your personal account or, if you plan to host more than one event, you can create a page (this will keep all of your current and past events together). Head to the bottom left corner and select + Create page.
Select + Create (in the top right), then add an image, the date and location of your event, and your event details. A square JPG, PNG, or GIF works best, up to 15 MB for the image.
Selling tickets on Gather
Set up a payment method
Before you start selling tickets on Gather, you need to decide how you would like to be paid. We offer two options: Stripe or a direct bank transfer.
You can set up your payment method from your profile by clicking the circle icon in the bottom left corner or directly on the event page. From here, you can either set up a new Stripe account, link your existing Stripe account, or set up bank transfers. If you need to set up a new Stripe account, follow the steps below. It will only take a few minutes and when you are done, Stripe will send you back to Gather so you can continue creating your event.
1.1 Connecting Stripe
Select ‘Set up Stripe’. This will open the Stripe website in a new browser, and you can either sign in to an existing Stripe account or create one.
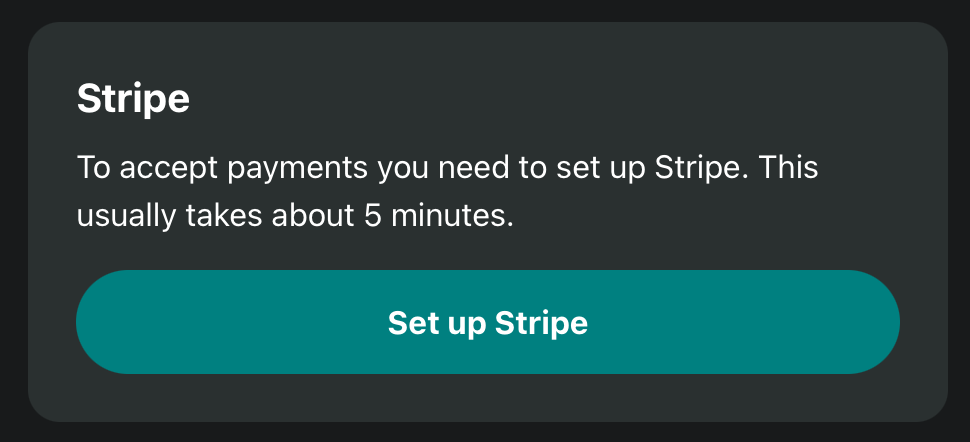
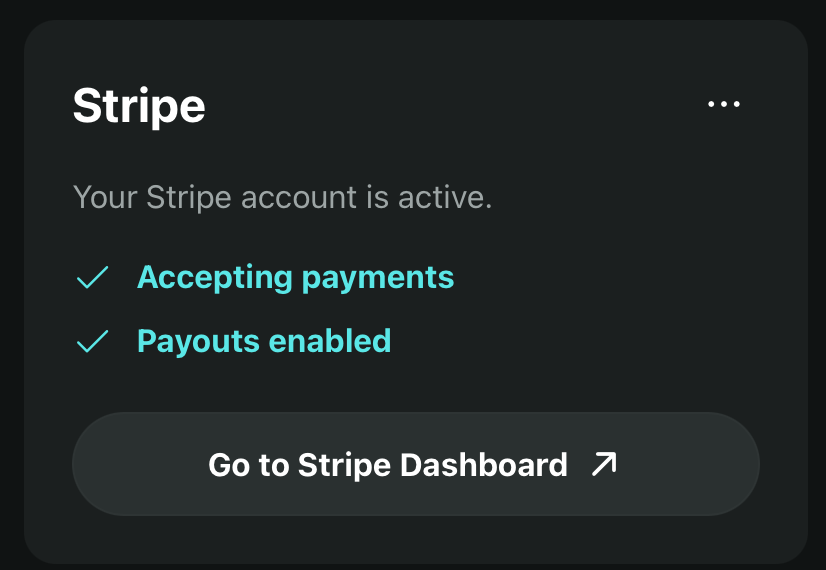
Stripe will ask for your country, your business or personal details, and the bank account you want to be paid into. The whole process should take less than 5 minutes, and you will only need to do it once. When you are done, Stripe will send you back to Gather and your profile will show that your Stripe account is active.
Set up tickets
Select Tickets and click Manage tickets.
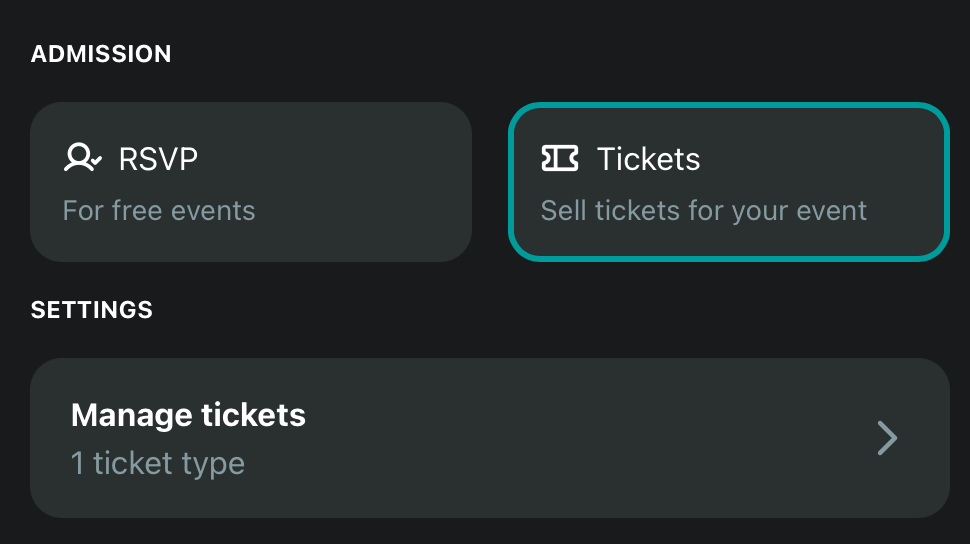
Here, you can create your ticket type, set the price, and capacity, or any optional features like Sales times & restrictions, Promo Codes, and Bulk Discounts.
Gather uses inclusive pricing, so the number listed in the box labelled Price is the amount people will see when they come to buy tickets. We want to be upfront about where the fees go, so if you click See fees you can see a breakdown of who gets what.
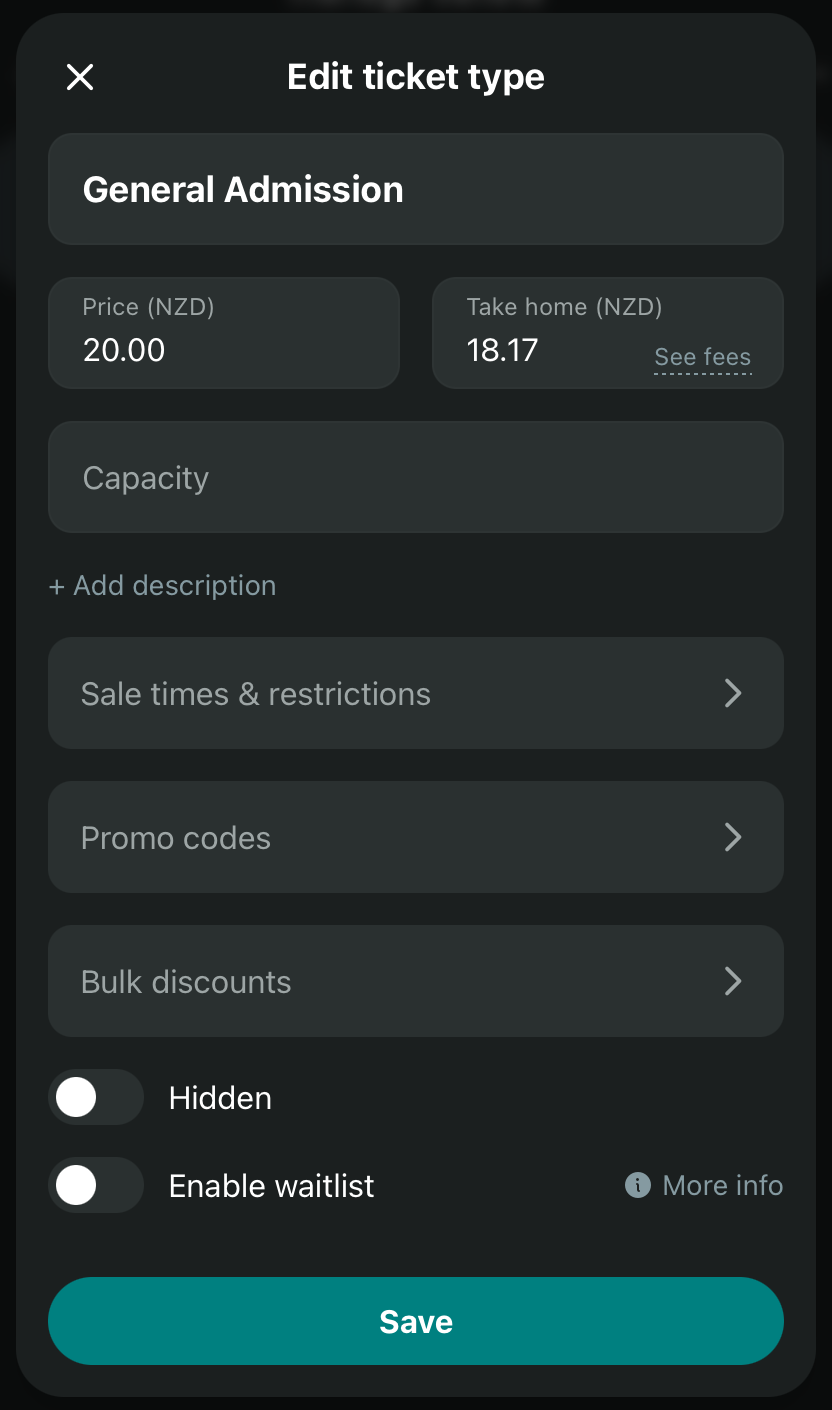
For a simple ticketed event, you can stop here and click Save.
If you want to create a second ticket type, such as Early bird tickets or Pre-sale tickets, you can do that by clicking + Add new and completing the same steps.

When you are done, click the X in the top left to go back to your event page.
Publish your event
If you made the event private you can now switch it back to public. This will make it visible on Gather.
Click Create event, and your event is now live.
Congratulations, you now have an event on Gather. Now it’s time to get it into the world! We’ll promote your event on Gather, but you can also grab the event link and share it far and wide. Send it to friends, put it in your social media bio or link to it in Stories. It’s your link, so share away!